
Base
To run a personal XRPL DEX Node (powered by rippled + your custom DEX interface), your VPS/server must meet the following specifications. These ensure reliable syncing with the XRP Ledger, stable DEX swap operations, and low-latency performance for your single-user platform.
Minimum Requirements (Tested & Functional)
Once your VPS is up and running, you do not need to install any software nor run any firewall configuration commands. The dex-node-installer-xrpldex-io does all of that. Simply follow these steps.
Run these commands and press RETURN / ENTER after each:
sudo apt update -y# to bring your Linux server up to date and make it secure
mkdir dex_nodecd dex_nodeThis page is NFT-gated. Since you already have a Dex Node NFT Node License, you will be allowed access. Click the Generate Temporary Token button. Then click “Copy full command” at the bottom.
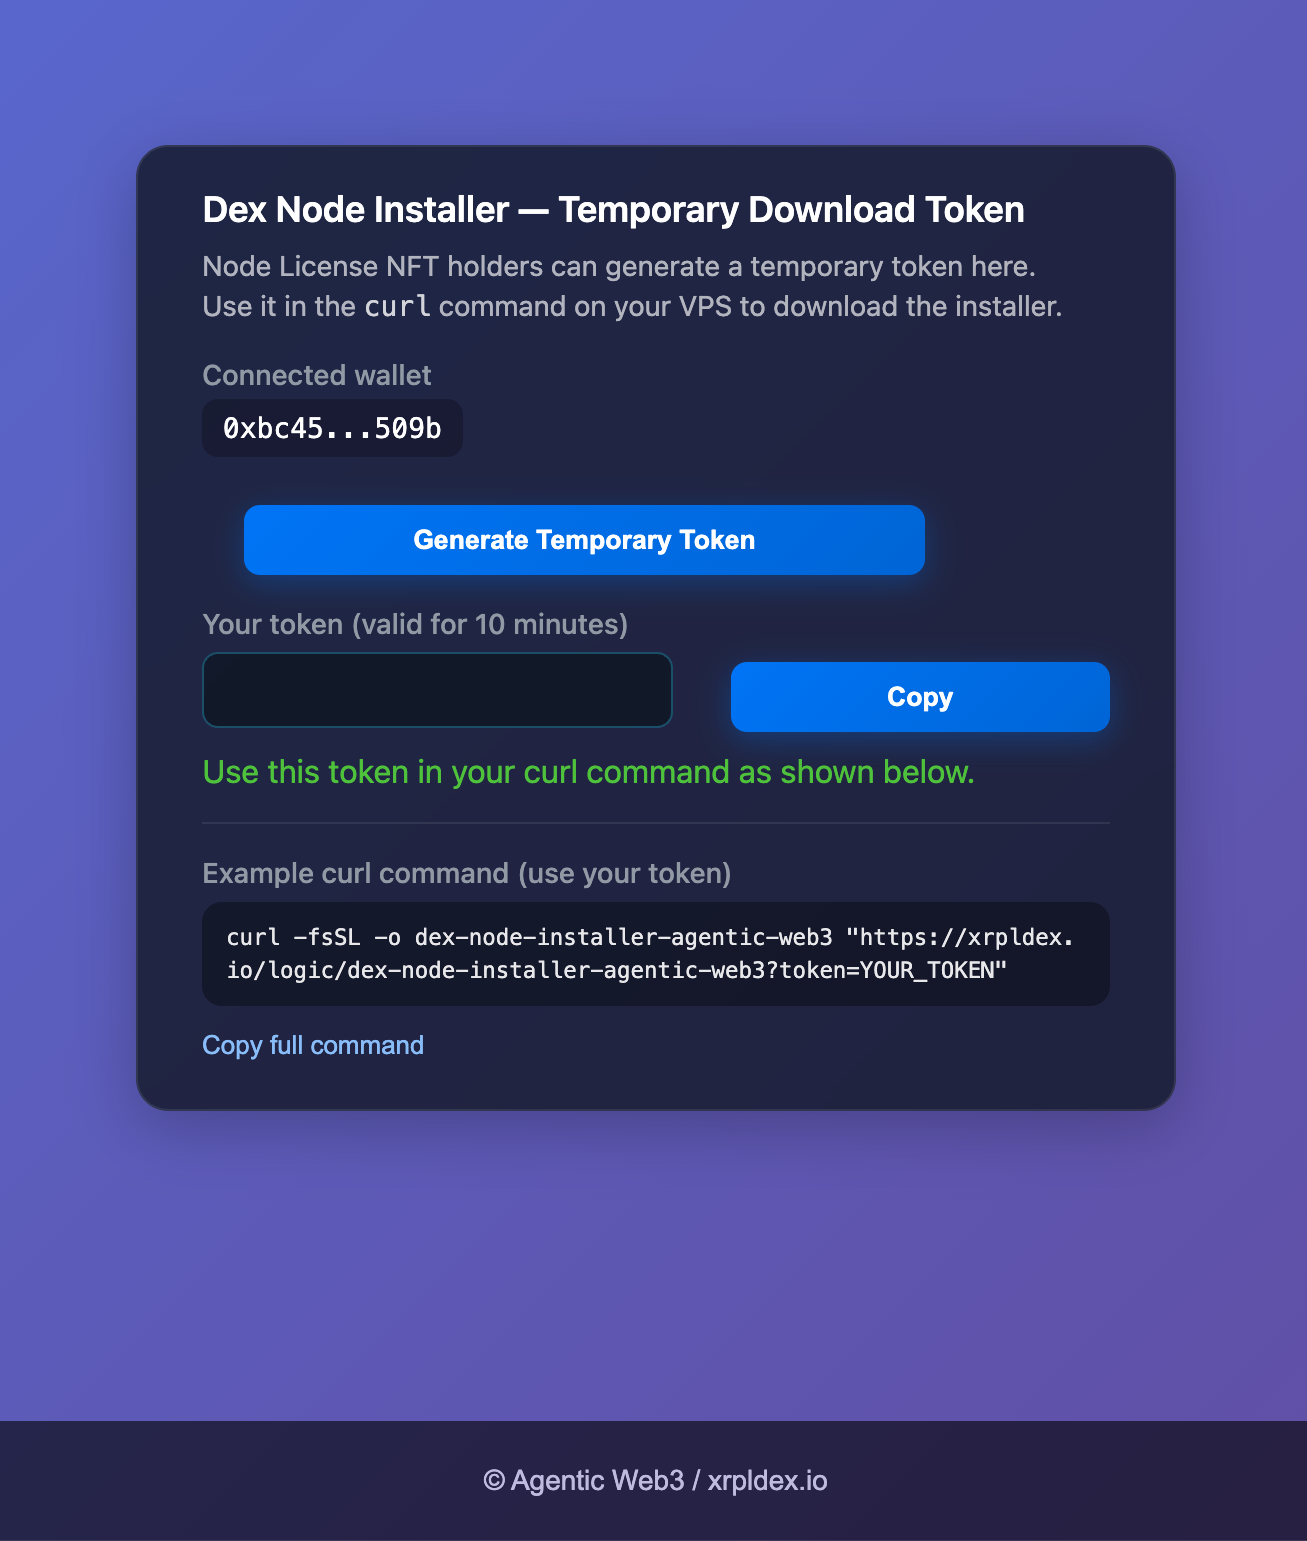
IMPORTANT: You must generate a temporary token in order to download the Dex Node™ installer software. The token is valid for 10 minutes.
Paste the command that you copied from the Token Generator and press RETURN / ENTER
OR
Run this command. And Replace YOUR_TOKEN with the token you copied. Then press RETURN / ENTER:
curl -fsSL -o dex-node-installer-xrpldex-io "https://xrpldex.io/logic/dex-node-installer-xrpldex-io?token=YOUR_TOKEN"chmod 700 dex-node-installer-xrpldex-iosudo ./dex-node-installer-xrpldex-io --nft-token-id <type or paste NFT Token ID here>This will start the Dex Node™ installation process.
When the installer gets to the URL instructions, Open the URL shown in your CLI terminal
(e.g. http://localhost:8080/?token=...)
by following these steps:
Copy and paste this URL into your web browser, and hit RETURN / ENTER.
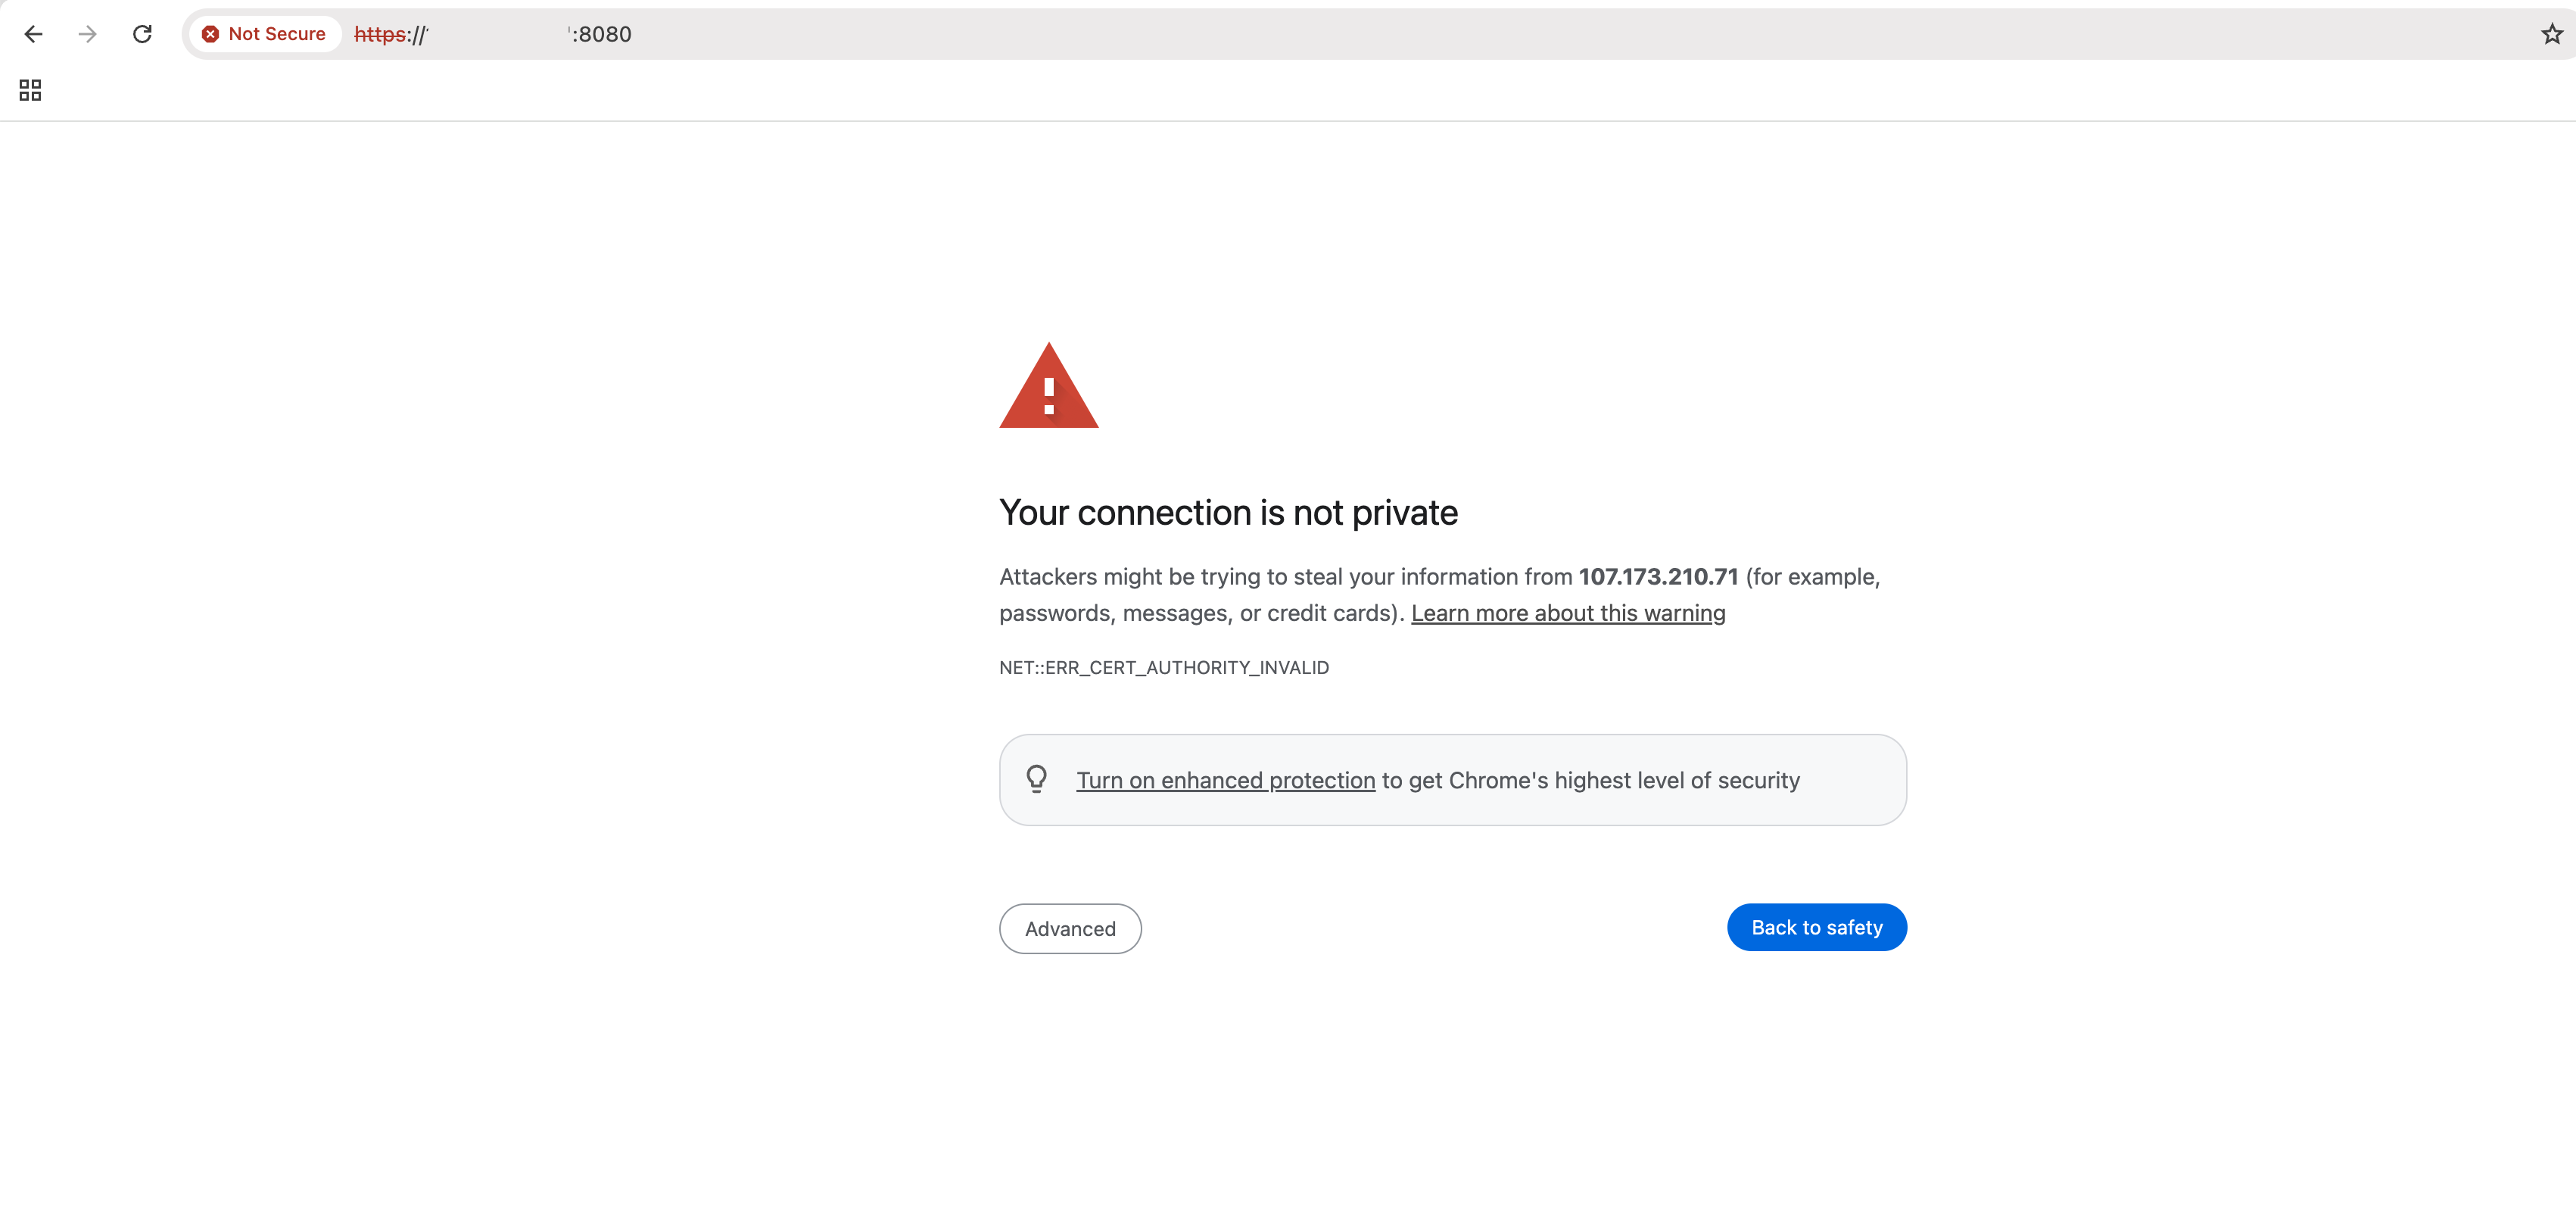
You will most likely see the "Not Secure" screen shown in Step 7 below.
Follow Step 7, to complete the SSL configuration.
Then continue to Step 8, to follow the Setup Wizard and complete your Dex Node™ installation.
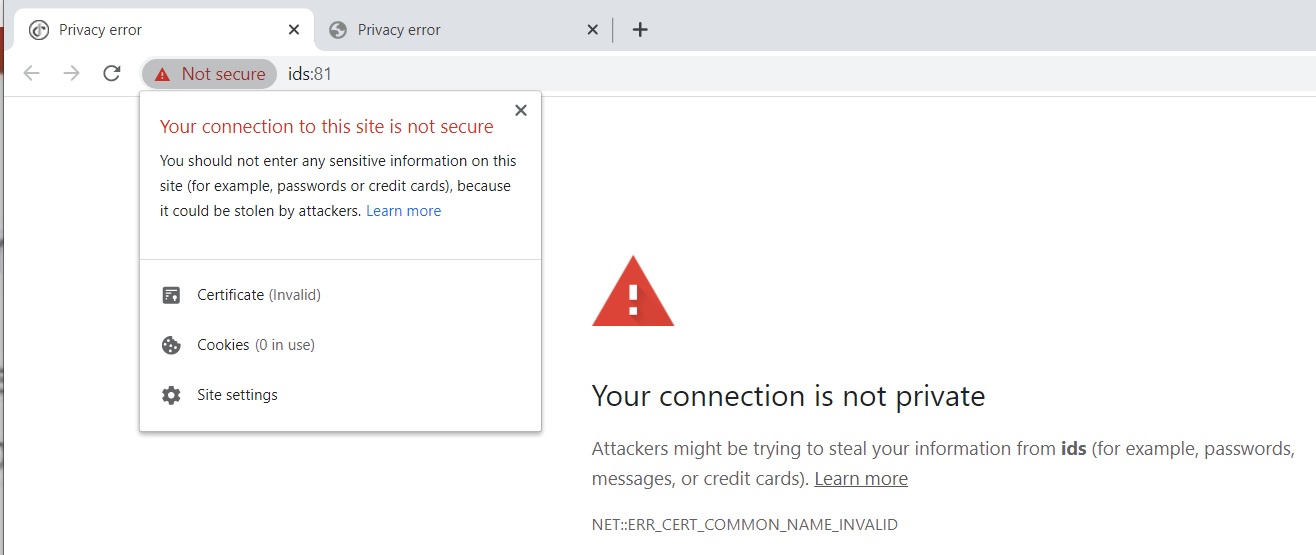
Click “Not Secure” next to your VPS URL in the browser:
Click Certificate (invalid):
The window below will open. Click the Details tab, then click the Export button.
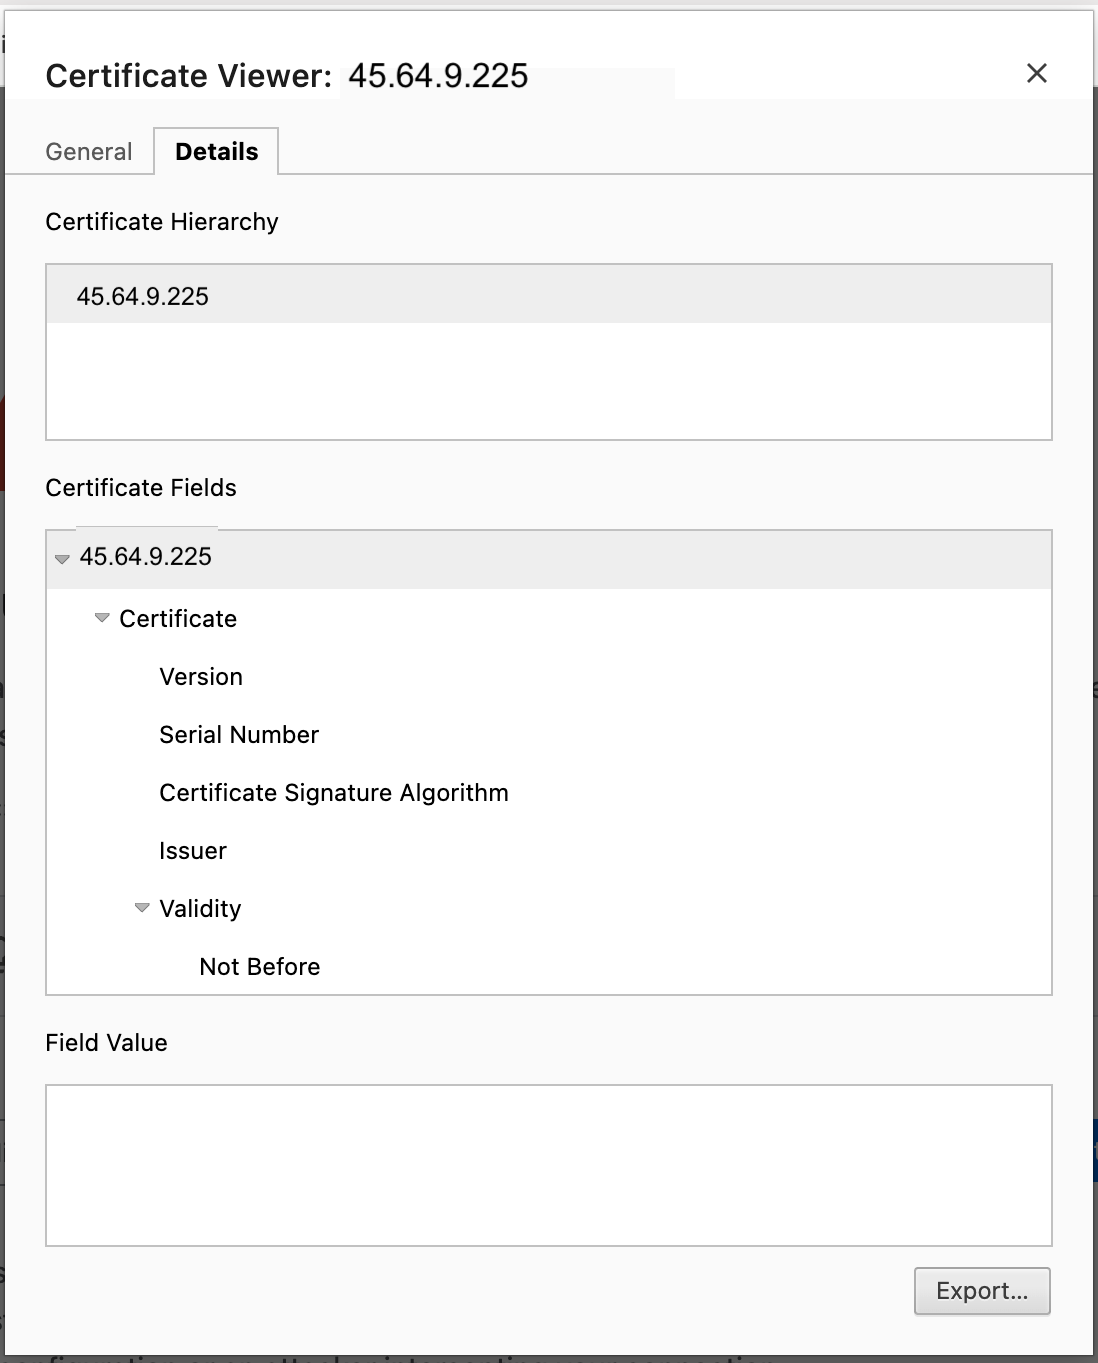
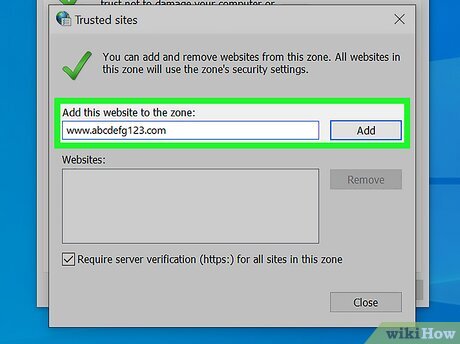
Find the certificate file “<your-ip>.pem” on your computer (e.g. Desktop or Downloads). You must add this file to your trusted certificates and set it to Always Trust.
Windows example:
Mac example:
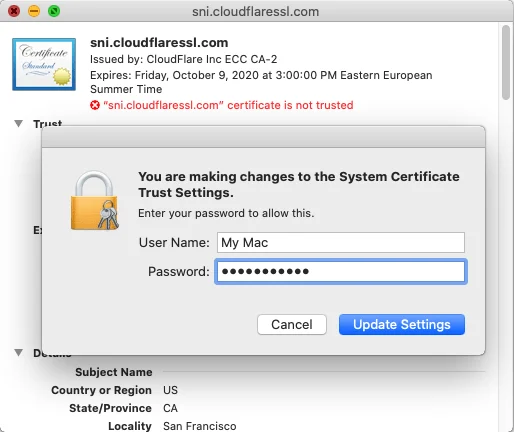
For detailed instructions for your OS, search the web for: Installing SSL certificates on Windows and Mac. Once the .pem file is installed and trusted, refresh your browser; your VPS at localhost:8080 will then be secure. And the Setup Wizard will appear as shown in Step 8 below. Proceed to Step 8.
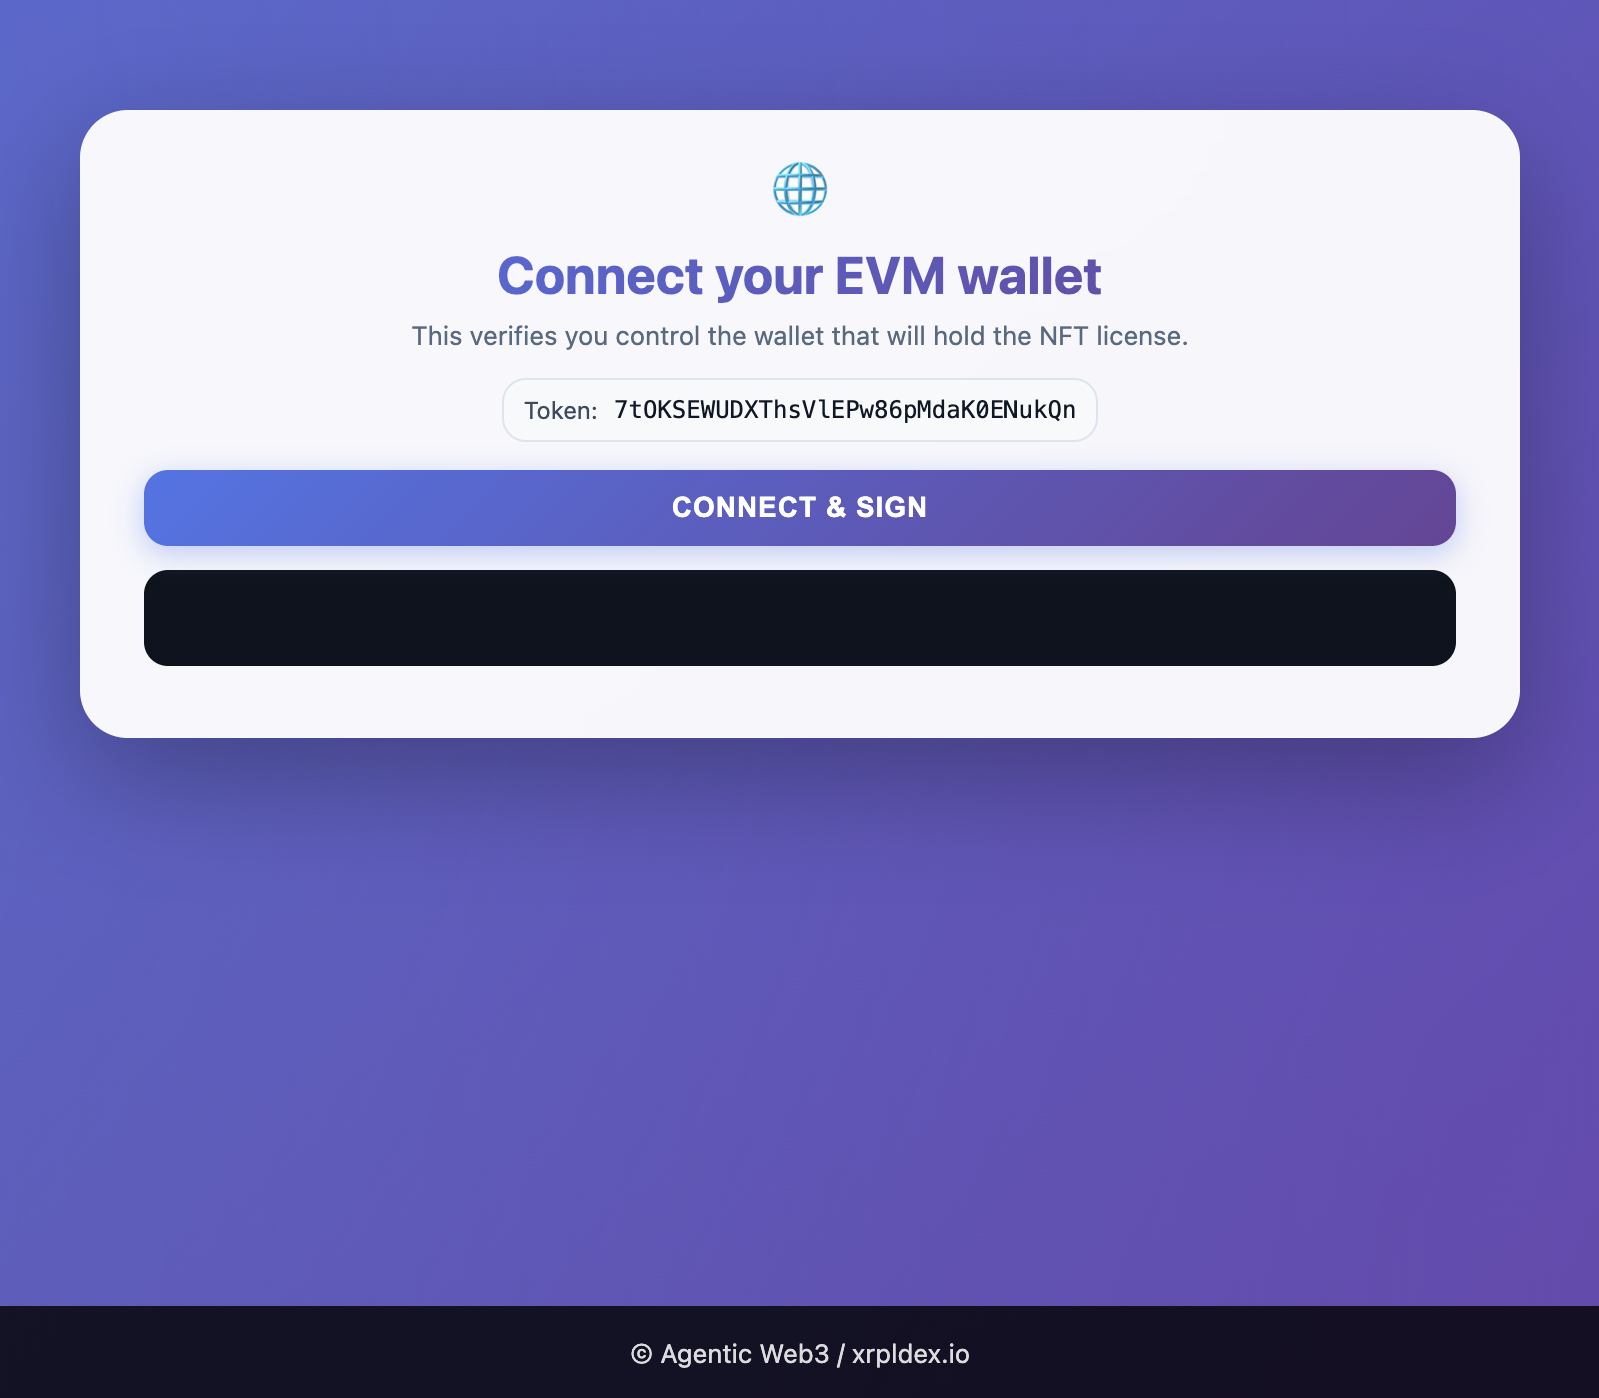
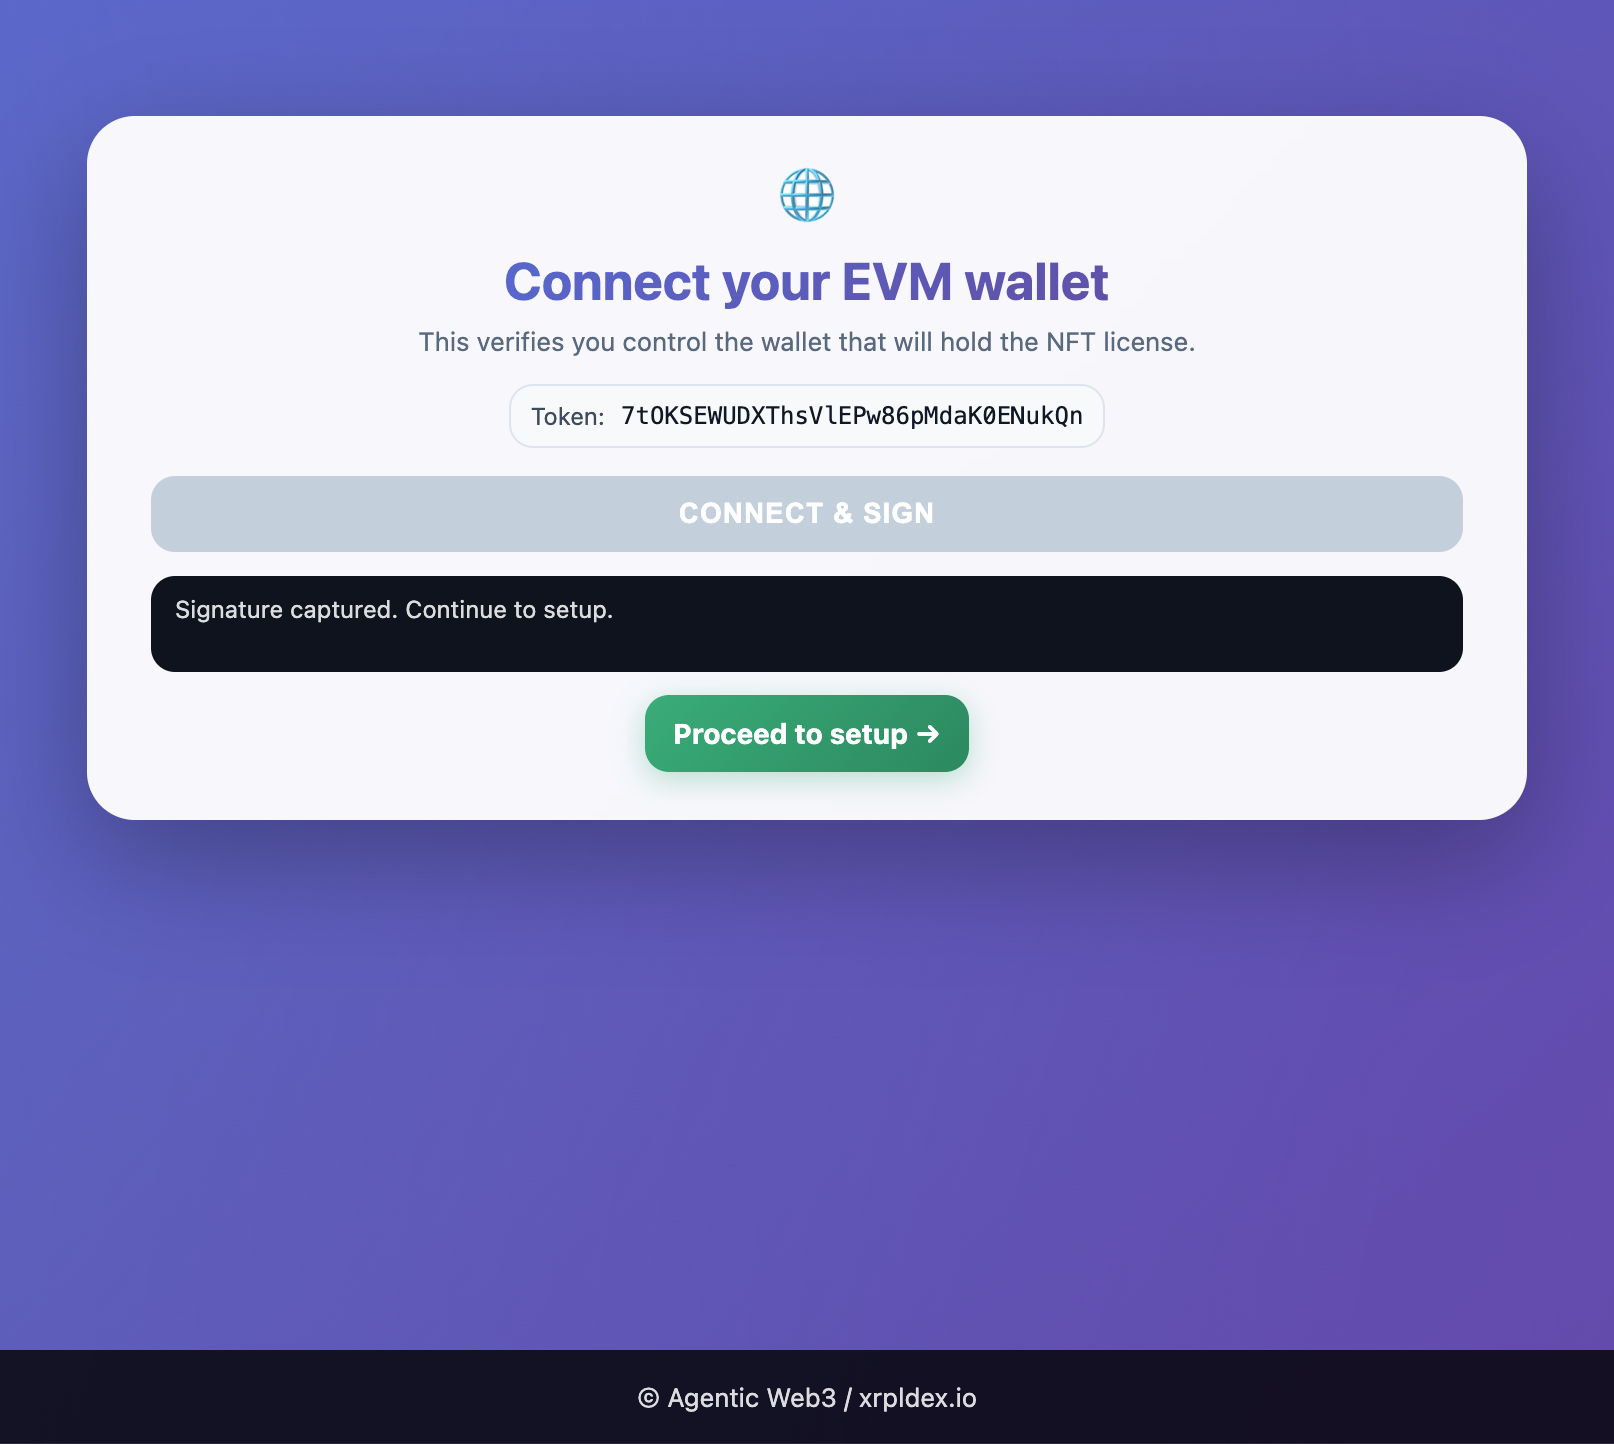
The Connect Wallet screen will appear. Connect and sign using the Base Mainnet wallet that holds your Node License NFT. When done, you will see “Signature captured. Continue to setup.” in the black information field. Then click the green “Proceed to setup” button.
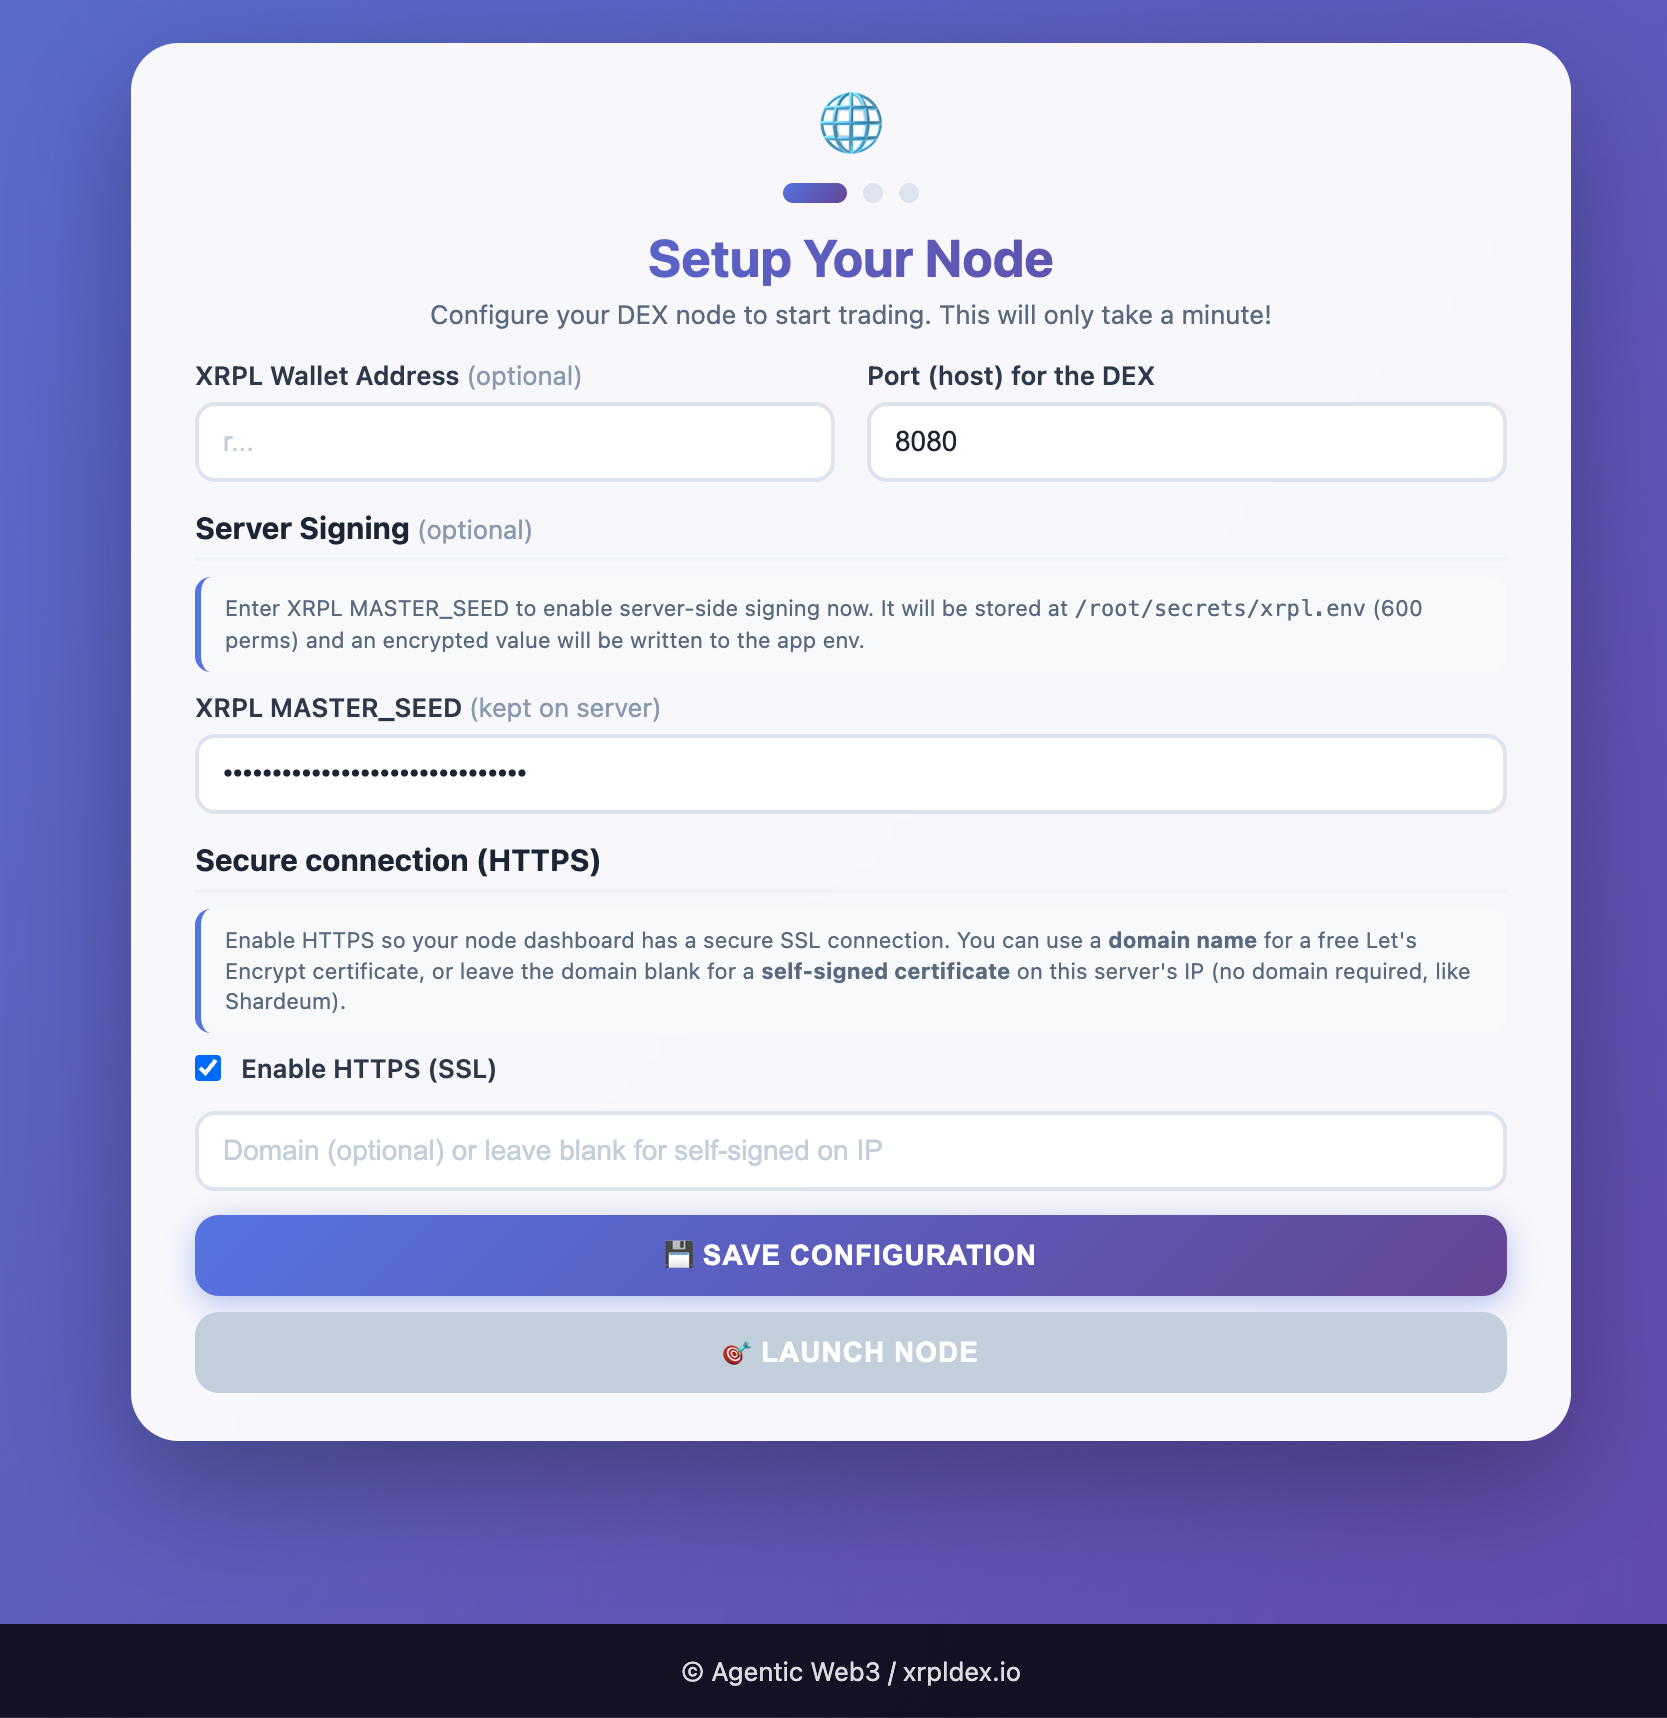
Paste your Private Key (master_seed=s…). It is stored only on your VPS; it is not sent to XRPLDEX.io. We do not store private keys nor custody any crypto.
Ensure Enable HTTPS (SSL) is checked, then click “SAVE CONFIGURATION”.
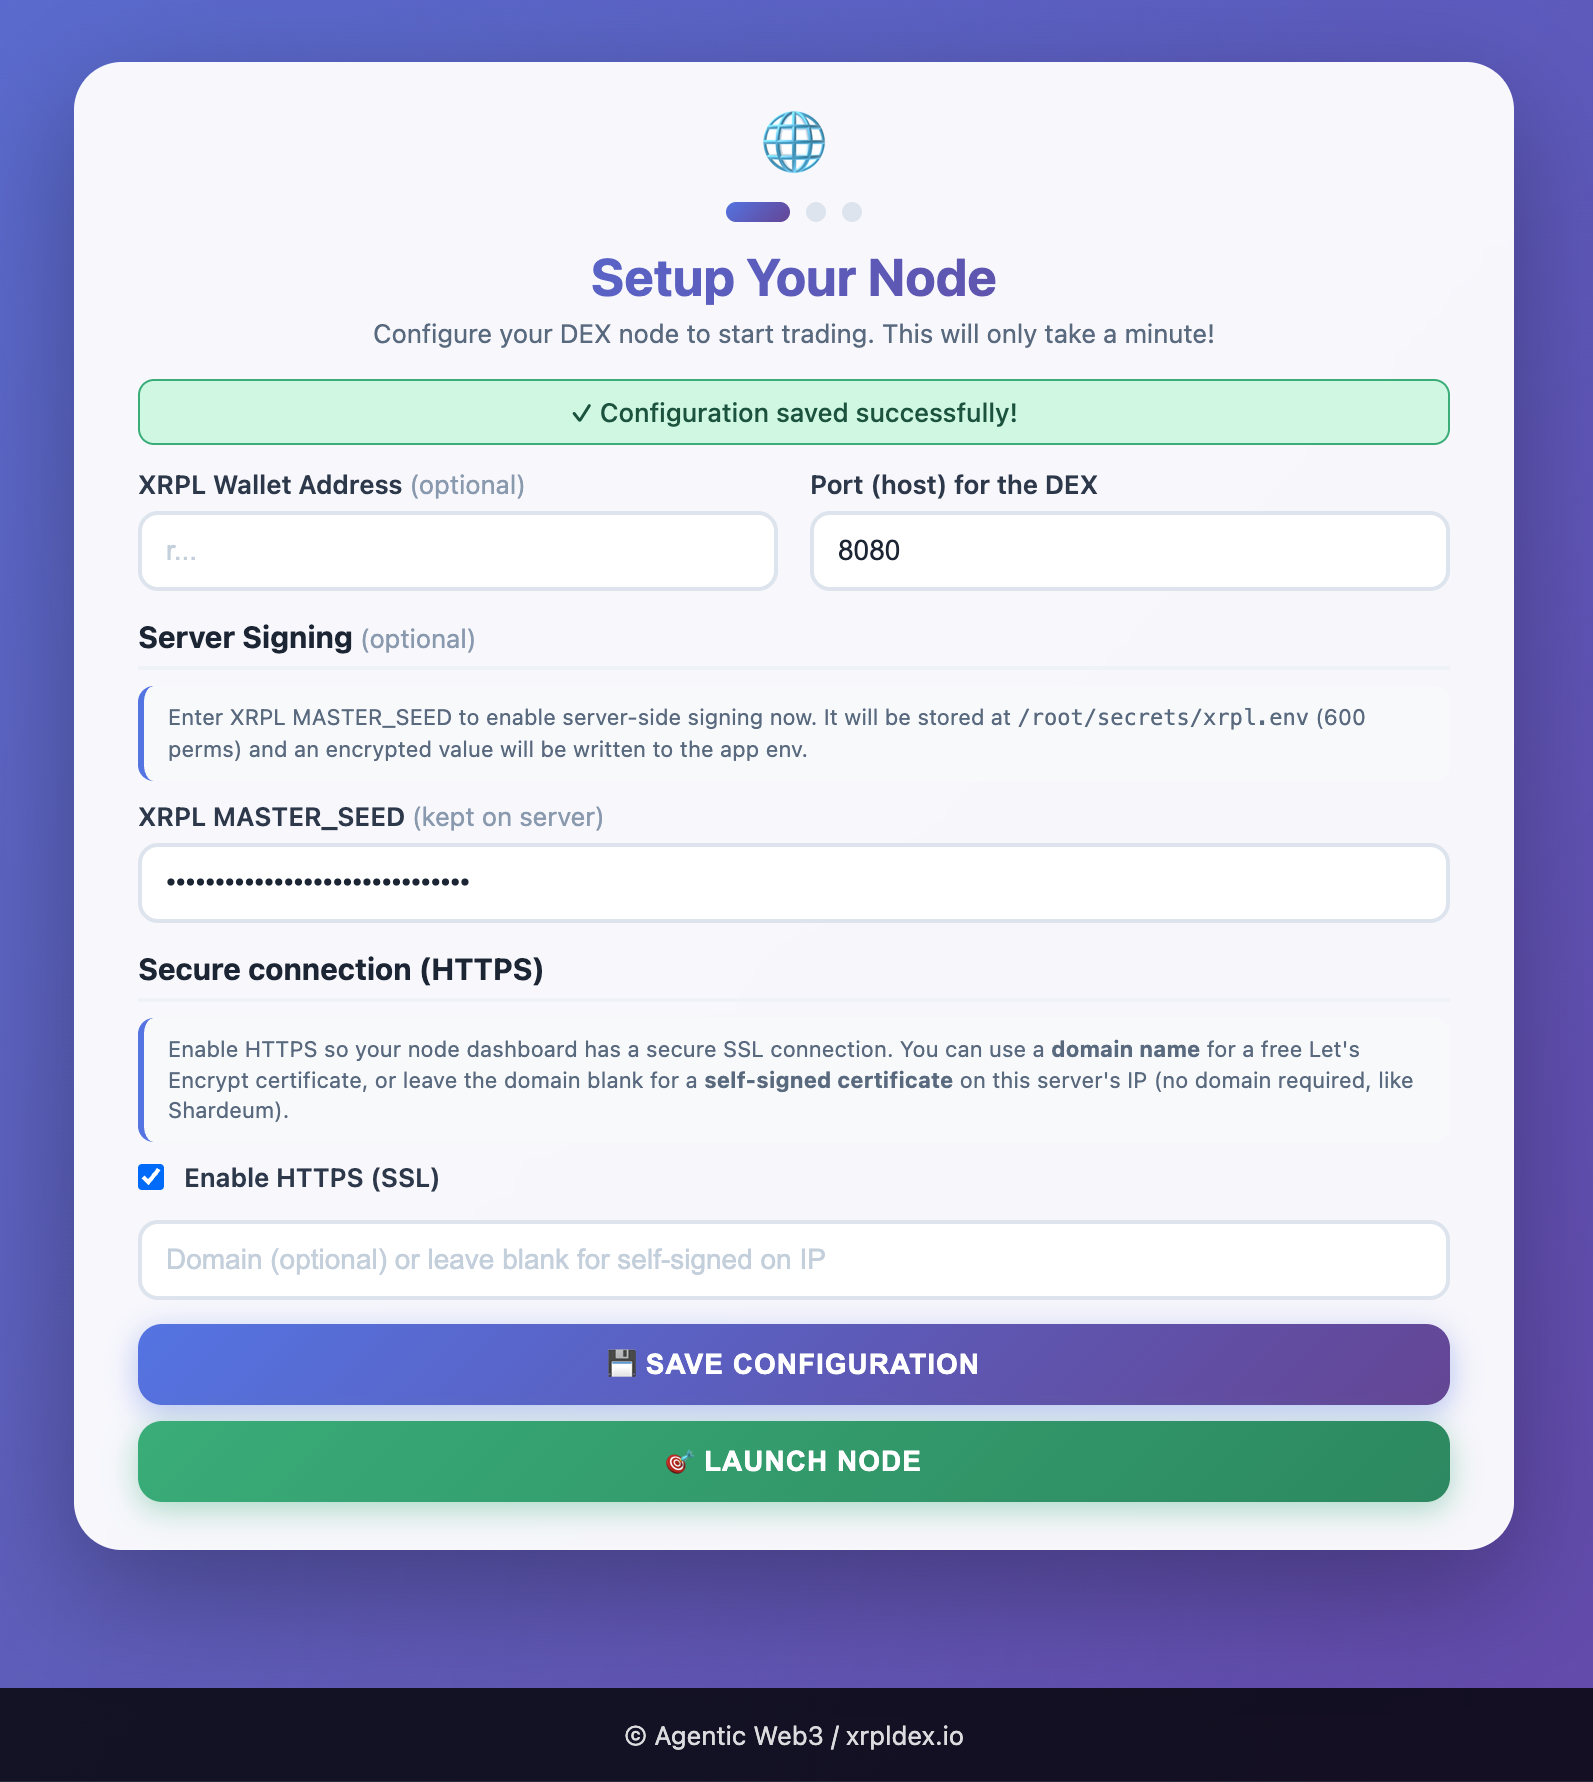
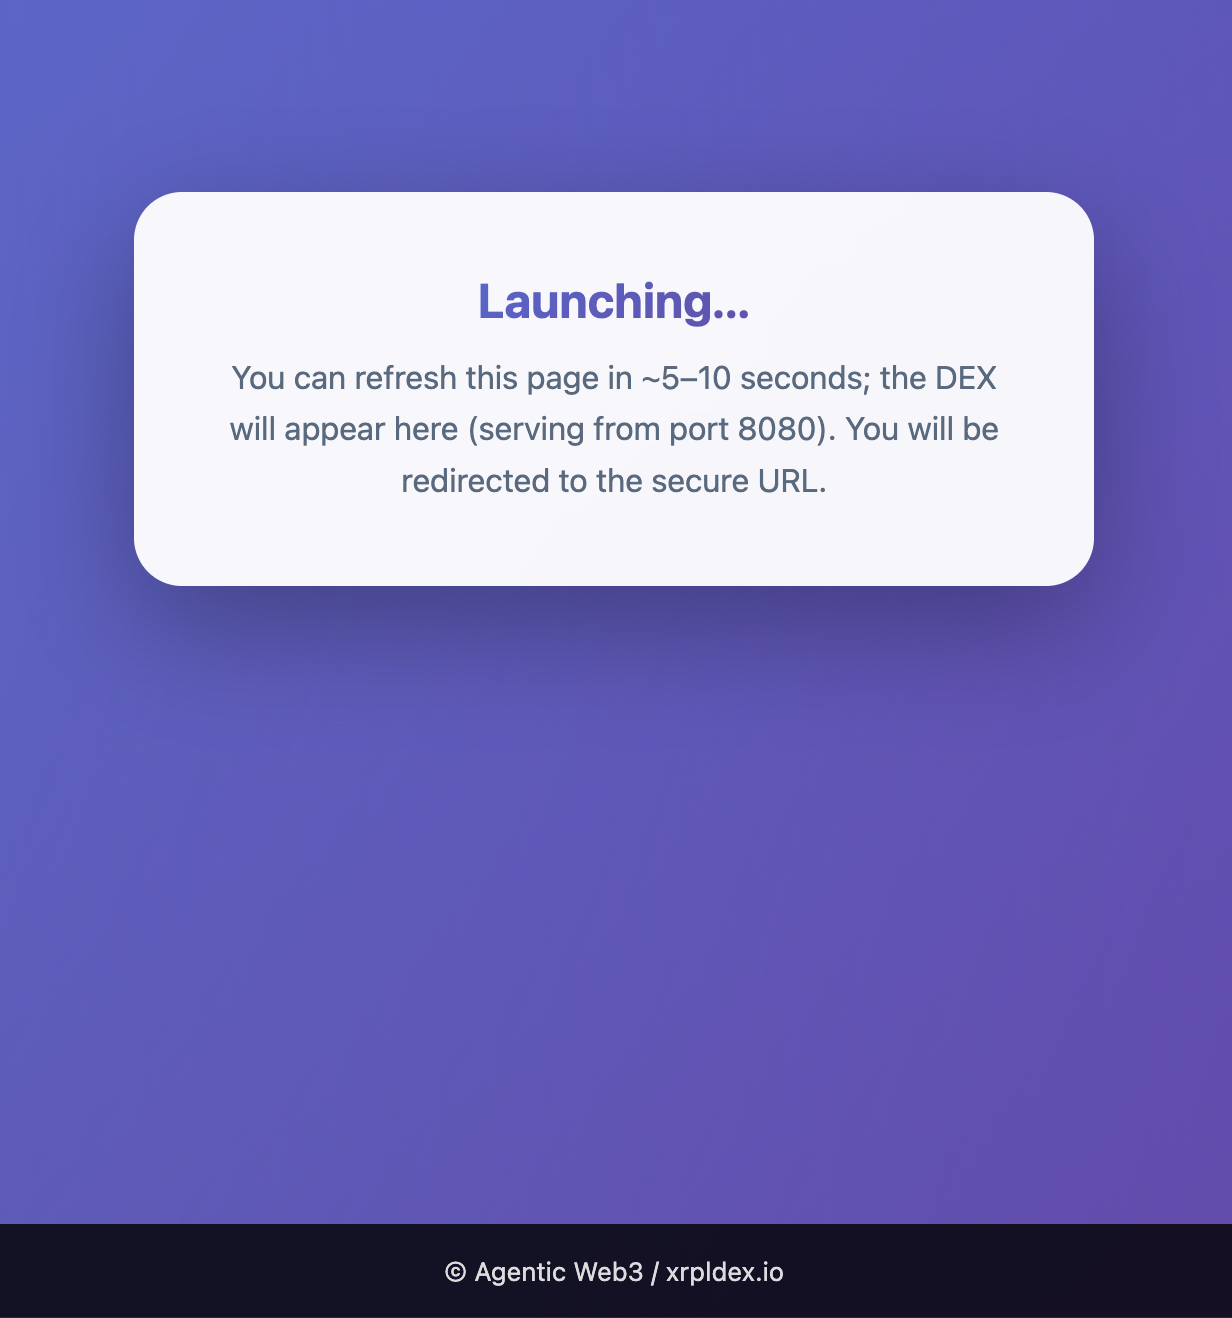
Click “LAUNCH NODE”. The screen below will appear. The Dex Node will launch in about 15 seconds.
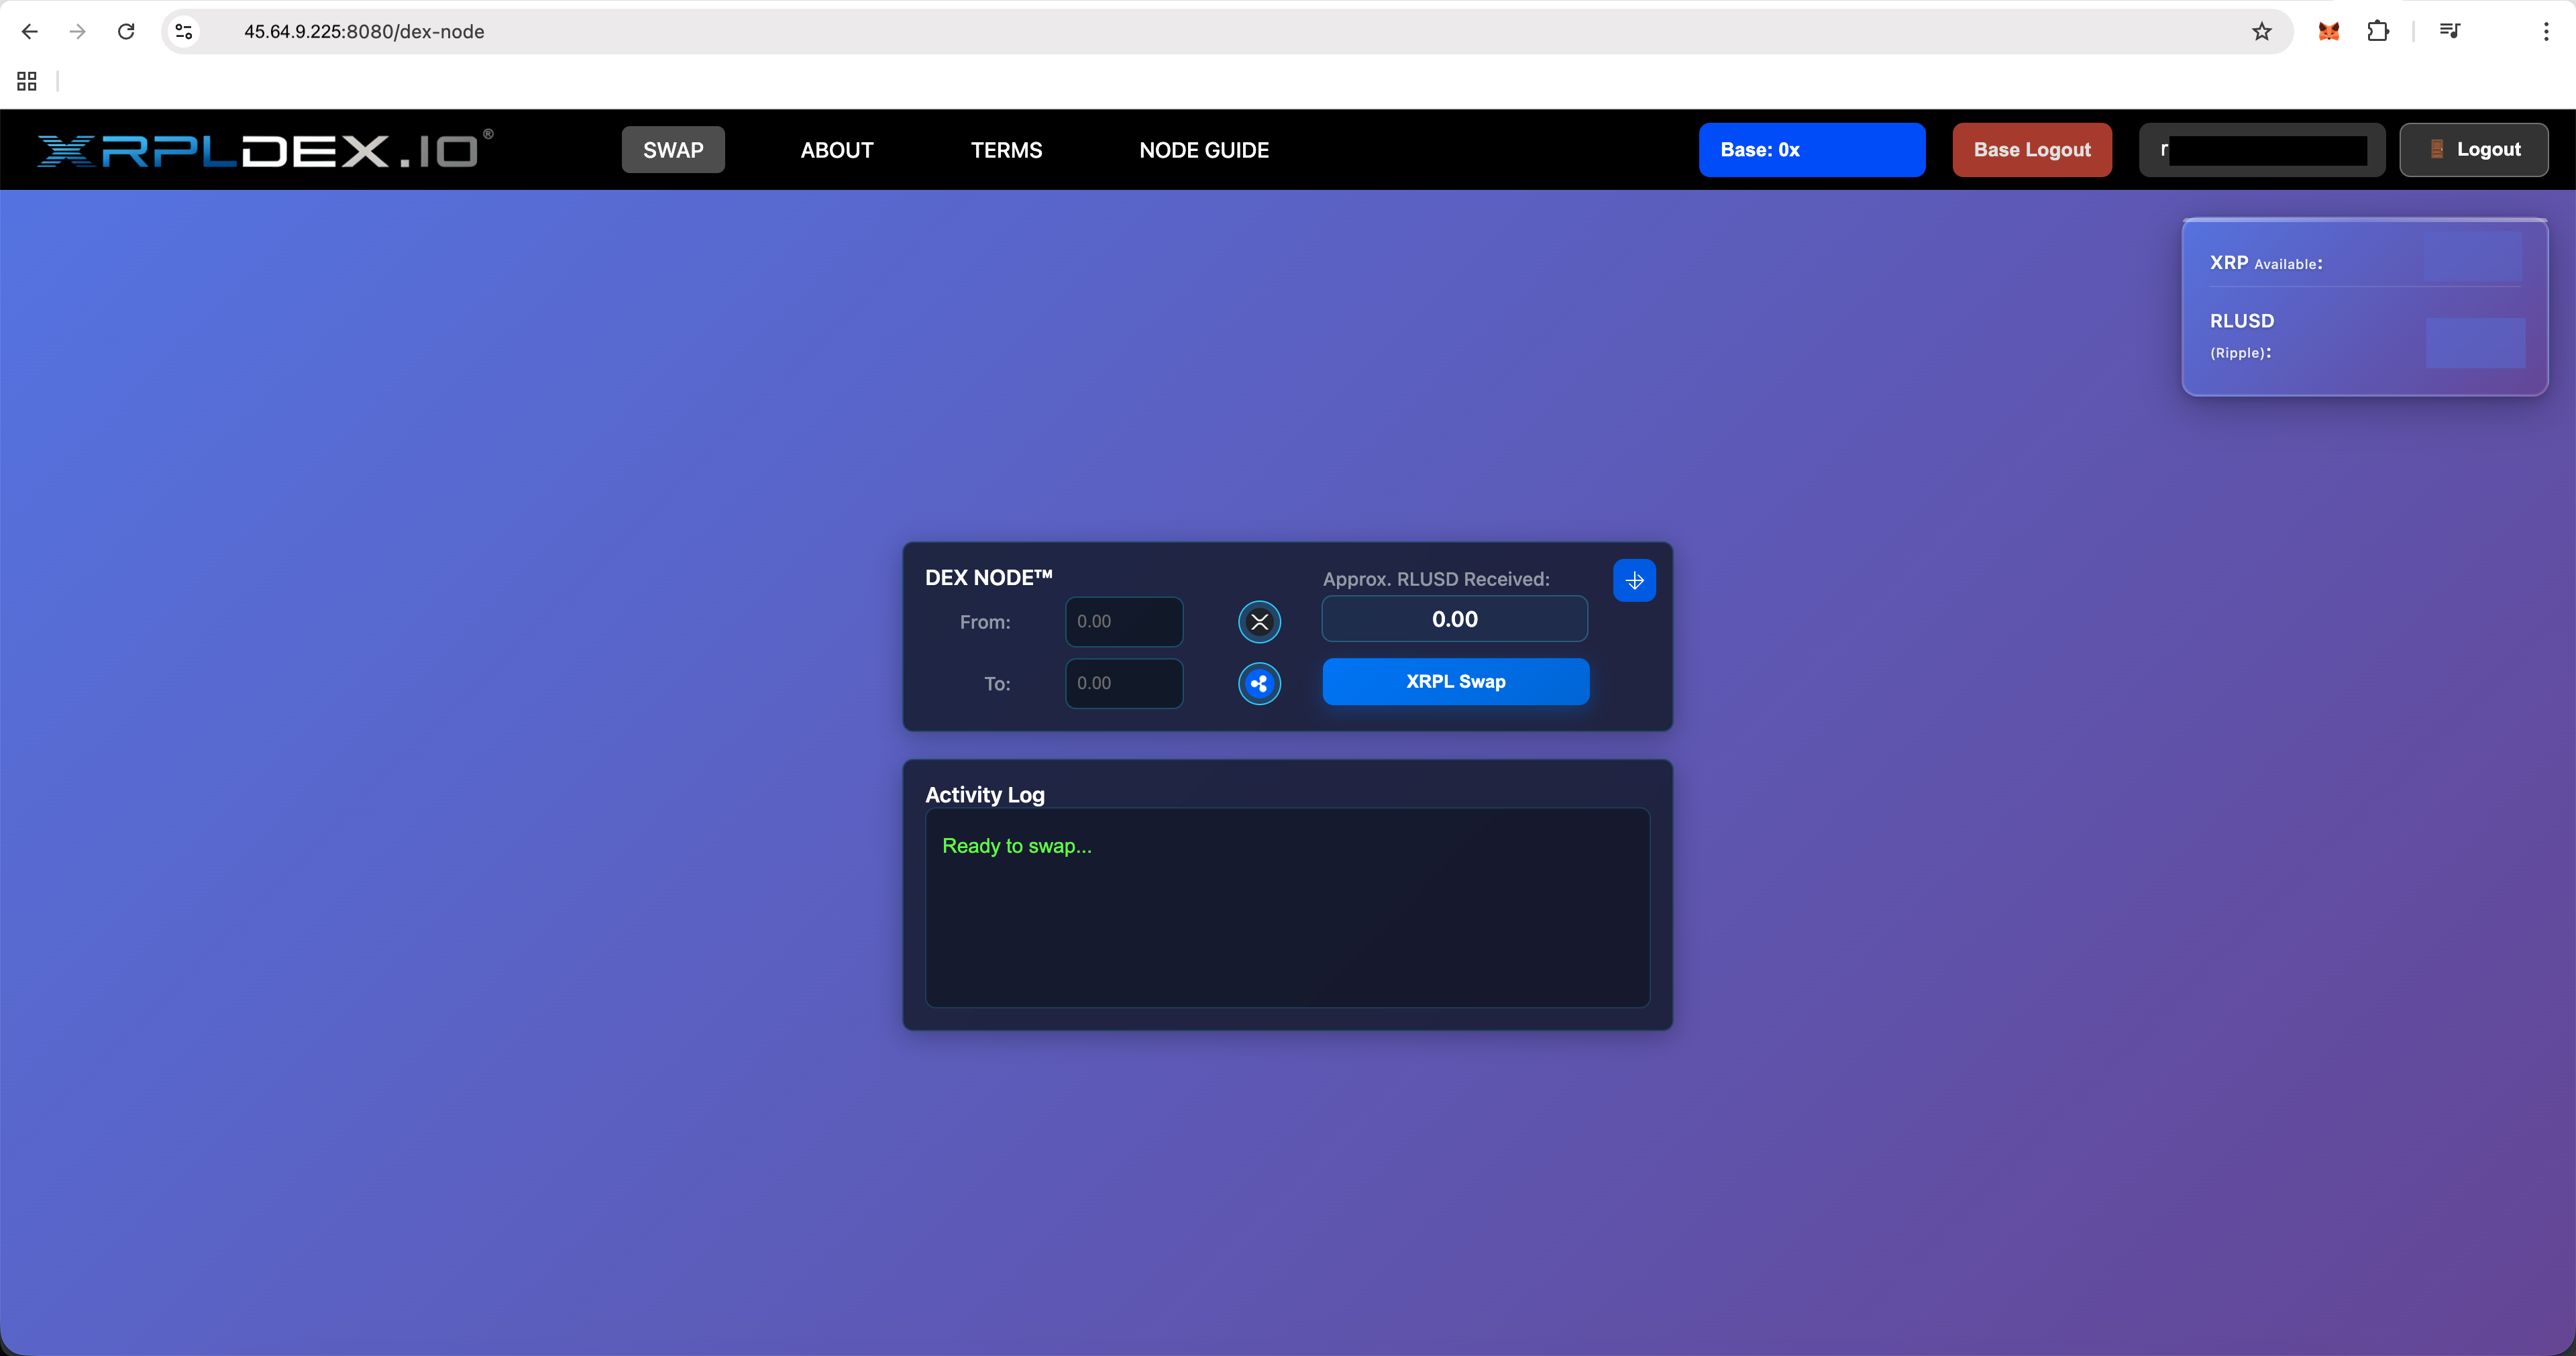
Your Dex Node is now live and ready to swap.
To set up an RLUSD (Ripple USD) trustline on the XRP Ledger (XRPL), you must authorize your wallet to hold the token. This process requires a small amount of XRP to be reserved (typically 0.2 XRP).
Xaman is the most common self-custodial wallet for managing XRPL trustlines.
If you use a Ledger, Xaman Wallet, or Trezor device, you can use the XRP Toolkit.
In your VPS Terminal, at the root level, run the following commands:
docker stop $(docker ps -q)# this stops all containers
docker system prune -a# removes docker images, containers, networks
When prompted, type "y" and press ENTER or RETURN.
rm -rf ~/secrets# removes /root/secrets (where private key is stored)
cd# to go back to the root directory
rm -rf /opt/xrpl-dex-io# removes any remaining dapp files
rm -rf dex_node# removes the installer directory
After running these commands, your VPS will be back at the state it was before the Dex Node installation (pre-install state). You can then logout of your VPS, or redo the Dex Node installation by following the Dex Node Installation Instructions at the top of this guide.
When you enter your private key during the node installation, it is saved on your VPS ONLY, at the /root/secrets directory. Your private key is yours alone. It is not "sent" to XRPLDEX.io. We cannot access your VPS nor your private key. Never show anyone your VPS password. Never show anyone your private key. Be safe.
Thank you for using XRPLDEX.io. Enjoy your Dex Node™ !